Wednesday, 26 October 2022

Watchmodding in Hackspace Magazine, Bonus content!


In issue 60 of Hackspace magazine I wrote a piece about building a mechanical dive watch from a collection of components it's a great hobby and you can build a pretty expensive watch for a lot less than buying one! Writing the piece I wanted originally to talk about some repair tasks I'd undertaken and my route into watch assembly and modding but I was going to be way over wordcount! So I've decided to add that section here as a blogpost. Below is the text as written as an opening for the article.


Making a watch has been on my list of “things I’d like to have a go at” for a long time but ultimately it was the repair of another watch that led me down the rabbit hole of completing a make a watch project.

The repair in question was for an old 1990’s Gul brand watch which I’d had since new. Not a particularly good or expensive watch but well worn and had served me well. I’d managed to slip and catch it on a stone wall and had chipped the watch glass, or crystal as they are more commonly known and rather than a scratch it had some cracks that made it difficult to read the time. I already had the tools to open the watch which I’d picked up years ago and ever since had replaced batteries in quartz movement watches as a matter of course. These tools were bought as a very budget set and included 2 really useful tools, an adjustable 3 pronged watch case opener which can be thought of as an adjustable wrench for screw on case backs and a handheld dust blower, perfect for removing pesky flecks and spots of dust.


Removing and replacing the crystal requires a few more bits of knowledge and indeed some tools so I began investigating how to achieve this. The first obvious step is to, like when changing a battery is to take the back off the case. Some watches have press fit case backs often with a small lip where you can insert some kind of prying tool or “spudger” whilst commercial spudgers are cheap and available you might improvise with a fine flat tipped screwdriver or a firm thin guitarists plectrum is often useful. For my gull watch it has a screw down case back so I adjusted the three jaws of the case opener to fit into the indents on the case, carefully placed it on the case back and unscrewed the case.


With the back of the case removed you now need to remove the “Movement” which is all the gubbins that run the watch from inside the case. Whether a watch is mechanical (a wind up watch ) automatic (a mechanical watch that also self winds) or a quartz watch (runs from a battery) you need to somehow remove the crown and stem from the movement before it can be lifted out of the case. Each different movement will be slightly different, some have a lever you depress, some have a hole you insert a thin tipped tool into and the location of these points will be different. A good starting point once you have the case back off is to get a magnifying loupe or equivalent and try and identify the make and model of the movement which will usually be engraved somewhere visible. My Gul watch has a cheap but perfectly good “Miyota” quartz movement and with a quick online search I found an image of which hole I needed to press a thin pin type tool into to release the stem and crown. With the stem and crown removed the movement is now free to be lifted from the case. Although not every watch has one many watches have a case ring which is a plastic or metal ring which fills any gap between the watch case and the internal movement, sometimes these are attached to the movement but sometimes they are separate so take good note and maybe a picture on your phone before you remove the movement so you can tell where everything aligns.


Be very careful with a removed watch movement, if, as in this case, we are disassembling a complete watch the hands of the watch are very fragile and you definitely shouldn't ever place the movement down on its hands. Similarly later when we are working with a movement before the hands are fitted the tiny shafts the hands fit too are incredible easy to damage so be very gentle!


The disassembly of a watch as we have done so far is a really useful experience when it comes to building a watch later. However when assembling a watch from components a watch case will usually have a crystal fitted so the rest of the Gul watch repair is perhaps less relevant but it’s a really common repair task. To replace the crystal we need a special tool, a crystal press, which allows us to support a variety watch case and the crystal sizes to remove or replace the crystal without damaging either component. They can be found quite cheaply for around £20 online, and although I am sure some vintage high end Swiss maker presses are infinitely better, a cheap one will work! To remove the cracked crystal we need to find a pair of the replaceable dies that are sized correctly. For removal we would place the watch case upside down so the crystal is towards the lower die. The lower die should touch and support the watch case but not touch the crystal so the crystal can be pushed into the bowl section of that die. The upper die should fit inside the back of the case and only touch the crystal, it’s good practice to find the die that covers as much of the crystal without touching the case as then you theoretically need to apply less force over the larger area to remove the crystal. With the two dies in place its a simple squeeze of the press to pop out the crystal. If you now look inside the case where the crystal was sat you might have a small seal/gasket, check that that gasket looks OK and be careful not to touch or move it unless you really need too. You next need to identify the diameter of the crystal to be able to order a replacement. For this a set of vernier callipers, digital or analogue, should be accurate enough. Most watches are metric and crystals are sized to 1/10th of a millimetre, so for example its possible that a 24.5mm crystal wont be tight enough if the watch it fitted with a 24.6mm one. Measure the diameter at least three times to make sure you are certain! Crystals also come in a variety of geometries, domes that can be flat one side and domed the other, hollow domes or flat both sides and more. When you are looking online most traders show pictures which you can compare to your damaged removed crystal.


Replacing the crystal is similar to removal. You now place the watch case on the lower die facing upwards, the lower die should now be a size that supports the case and you should be able to find one that will support the case and that locks the case into position so it cant slide sideways. The upper die should be one that will push the crystal into place and touches as much of the crystal as possible to again reduce the amount of pressure you need. Triple check everything is aligned and that everything is clean and squeeze the press to fit the crystal. Then admire your work, it’s incredibly satisfying!


Wednesday, 19 October 2022

My FreeCAD book! Response is good!


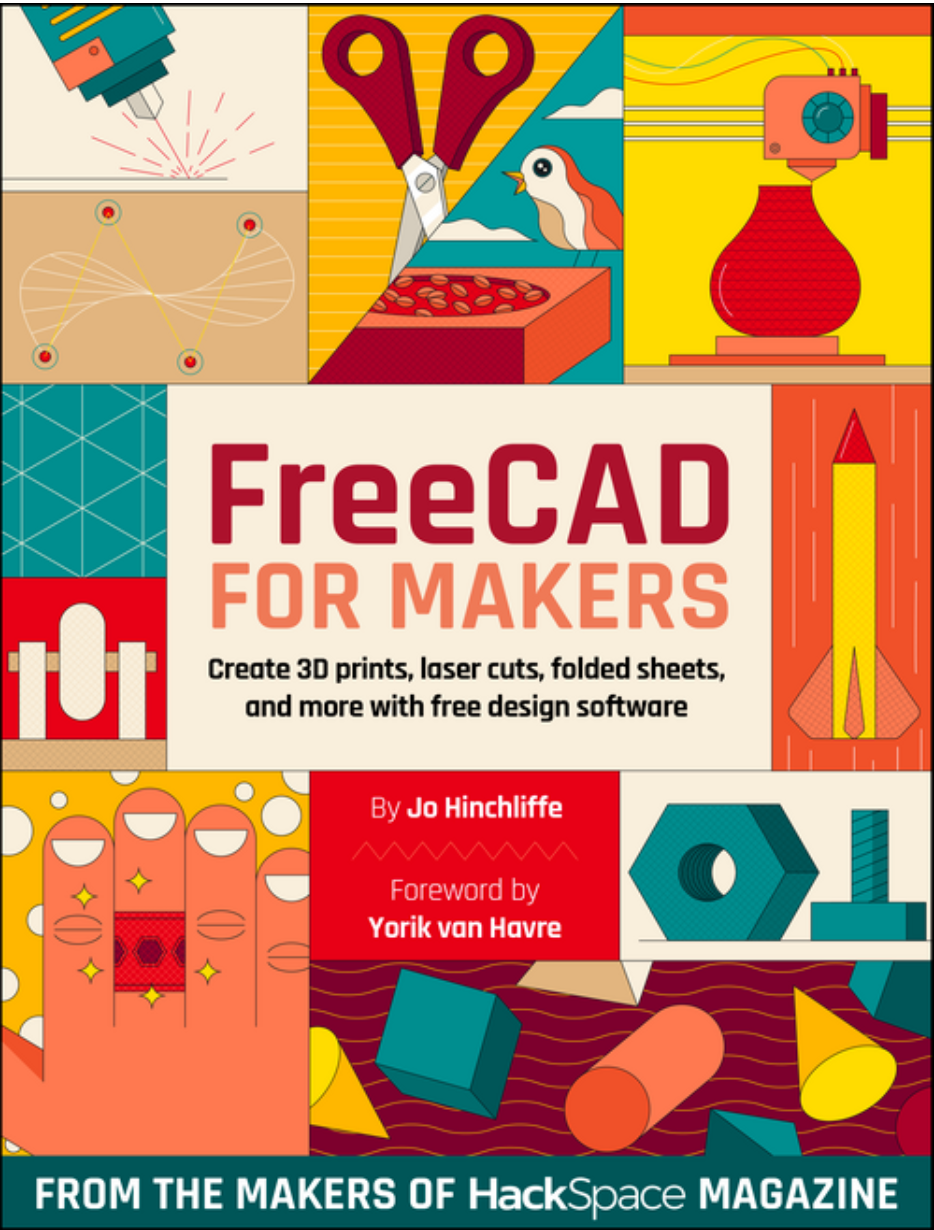
I probably should have blogged on this earlier but better late than never! Recently my free to download book "FreeCAD for Makers" has been released on the Raspberry Pi Press. It's an edited together version of 16 tutorials I wrote for Hackspace magazine. I'm extremely pleased with the book, it's written so that if you learn the first two sections you then are equipped with enough knowledge to jump to any other section in the book to explore more advanced and niche uses of parts of the wonderful opensource FreeCAD. It's suitable for absolute beginners in computer aided design (CAD) and covers a real range of CAD uses and approaches. 

The reaction has been great. I'm super proud to have a foreword by Yorik in there who is a legendary contributor and developer of the FreeCAD project and I'm really pleased that the established FreeCAD community approve and have been sharing it widely. Apparently it had over 8000 downloads in the first few days of release. I tweeted about the book release and I think it's the closest I've ever had to a "viral" tweet as it's had well over 1000 likes and over 400 retweets! I'm planning to get back to doing some more FreeCAD videos over on my Youtube channel soon but if you are interested in learning the fantastic FreeCAD then do grab a copy of my book to get you started.


Sunday, 9 October 2022

Organiser Prototype


The other day we were in an outdoor equipment shop and there was an organiser idea for use in a tent, or elsewhere that caught our eye as an interesting and useful idea. It was under £20 but it struck me that I had everything to make the device between my sewing stuff, accumulated junk and the 3D printer. 

Today I knocked up this first short prototype. A double length of 12mm wide webbing (left over from a parachute prototype) was stitched by hand with loops either end and the middle with a series of slack looped sections. These slack loops allow you to use a variety of clips and carabiners to attach all kinds of items to the system. We do have a fair few commercial keyring type around but it was fun to print a few different carabiners and mitton hook designs found online as well as CAD'ing a few designs of my own. 


The original product has a pair of flexible pipe cleaner-esque sections on the end which you can twist around an object as a connector. Instead I decided to use a couple of old shock cord toggles combined with a small length of paracord. You can place a loop over the toggle and then pull it tight and the toggle locks the loop. It can create a surprisingly tight yet easily removable temporary fixture and works extremely well. 


All in all it works very well and I already have an order to make one suitable for our large family tent. The next ones I'll knock up on the sewing machine for neatness and strength and I also plan to create a couple of small hanging stuff bags for items that are less easy to hang. I might even make one for the shed! 

Monday, 19 September 2022

Unconscious making! - Useful note board/ Index card holder!


Someone IRL made comment on this the other week as I pulled it out of my bag and it was noteworthy to me only because I hadn't considered that I'd made this object, even though I had! People may or may not know that I always, ALWAYS, have index cards on me! I've been a fan since the 43 folders Hipster PDA idea's were floating around but also, I used to pride myself as being able to create some kind of workshop activity at any moment, so long as I had some index cards and a pen. 

Aside from workshop materials, index cards are in constant use for note taking, but they are also cheap enough that they often are pressed into use as a place to dump some glue, or to cut and craft a quick card prototype. The problem they do suffer from though is they get pretty scruffy when a stack is just held in your pocket. So, I often have them binder clipped together and they often in turn get binder clipped to a board. I have a few boards knocking around and they often become focused on notes for one project. 

Anyway... this board that caught someones eye... well. I'm pretty sure it started off as a failed lasercut base for a little lollipop stick crane I made for a Hackspace magazine article and, as it was around the right size, it got pulled from the pile and some index cards added. It then started getting used for notes for a rocket related project and the rather overkill kevlar cord was added to hang the board up in the shed, the kevlar being an offcut from the rocket project. The decoration was an experiment I wanted to see how well my diode laser CNC rig would remove paint for an interesting engraving effect so I quickly slapped paint on the board as it was to hand near the laser rig! Laser cutters produce lots of bits and bobs of off cuts and I have absolutely no recollection of why I glued a small yellow piece of acrylic into one of the holes, I imagine it was just because I was fiddling around and realised it fit. The circular piece of wood is another laser off cut, I was working on *something* I can't remember but it had a lot of small screws, the bench I was using was scaffolding planks and there was a high chance a screw would disappear in a crack... so I glued a scrap ring onto this board and had a safe place to put small screws. Similarly I was working in the shed and was repeatedly using a small Allen key which I kept misplacing, the project also involved some tiny neodymium magnets and I had spares so I drilled a small hole in the board and glued one in. Later I ran a workshop on NFC stickers and how to get them to do stuff when scanned and a spare sticker ended up on there. I would love to tell you this links to the rocket projects files/repository but it probably doesn't, I should really add my phone number or an "if found return too" note on it.

So there we are. It's a thing that is definitely made, and probably made in my favourite way, in a responsive, tinkering, flaneurial spirit!

Friday, 19 August 2022

3D Printing Lightweight Nosecones - Vase Mode Approaches.


I've been looking at FAI style rocketry building a fair bit recently and doing some explorations. I'm not aiming to compete and my motivation is more that I want a cheap and light rocket with lots of internal volume for a weird deployable idea I have, more on that another time. The rocket above is a cardstock rocket which is bulkhead/centring ring free and pretty lightweight. When it came to the nosecone I wanted to keep it pretty short and stubby and in keeping with the FAI look. But I also wanted to keep it light. If you want to go really light with 3D printing then "vase mode", where you have a single perimeter printed in a continually raising Z axis coil (rather than a layer then a Z lift) is a great approach. However, a problem with vase mode is what happens when you get to flatter top areas that are over 45 degrees from vertical, essentially the vase approach fails as it can't print the geometry. Below is probably the best I could get it.


So the workaround, I redesigned the CAD model of the nosecone into 2 sections, one section that would vase print well but with the tip removed and printed separately in a standard print approach with a small amount of infill.  Below you can see the vase mode print complete with the tiny shoulder section (at the top) which steps in 0.3mm which is the thickness of the cardstock body tube. 

Below you can see the vase mode section and then the standard print mode tip. Printed in PETG  and ready for assembly with a spot of superglue. 


I'm pretty pleased with the approach, the rocket I'm building is slightly larger than the FAI style 40mm diameter body tube as I used some PVC pipe and a 3D printed section as a mandrel for the body tube and transition. Some research indicates that for 40mm FAI rockets the nosecone, without the shoulder, is around 1.5g. I could lighten the tip section of mine some more, I also could sand and polish the PETG print a lot and it already contains a working shoulder section so I actually think this approach is not far of being competitive with this first, larger sized one, at 3.26g. I'm pretty sure at 40mm diameter with some work I could get these under 2g similar to the vacuum formed styrene ones with paper shoulders that people seem to use. Of course a pointier geometry means you could entirely vase mode a very light nosecone as I did on my UK altitude record holding "Imp" rocket design.


Saturday, 4 June 2022

Creality Ender 2 Pro 3D printer review.


I feel pretty lucky, I work hard and have to hustle but I get to work and write about stuff that I really enjoy and sometimes wonderful things happen! A couple of weeks ago I was discussing the new Creality Ender 2 Pro with @Woodpunk who had been a great advocate for the original Ender 2 as a cheap small from factor printer for farming. Particularly towards the end of their commercial life the Ender 2 was often to be found for under £100. Mr Woodpunk was considering getting the new ender 2 pro out of curiosity but in a fit of unbridled wonderfulness he decided instead to send me one to outsource the research to me!

So I see the Ender 2 Pro retailing in the UK at between £140 and £170 (the lower price being from technology outlet who I have bought off previously and had good service) and it arrives extremely well packaged with all tools and decent instructions for the pretty straight forward assembly. 


It went together in about 20 minutes and only really needed 7 bolts inserting and tightening up and a few well labelled cables connecting up. It's a smart looking unit with a carry handle on the top of the Z axis tower for portability and the rather nice filament spool holder rotates in and out for a stowed and deployed position. It does make it pretty small if you want to put it away and not have it permanently taking up desk space or if you need to carry it elsewhere. 

On this unit I found all the belts to be at a decent tension and all the vee wheels running smoothly with no play and it didn't need any tweaks mechanically apart from setting up and levelling the heated bed. I'm spoilt these days by my Prusa Mini + (which I reviewed in Hackspace Magazine Issue 53 ) which has the automatic bed probing and compensation but in a way setting up and levelling a print bed is a better solution as you aren't forcing a compensation in the build rather getting it right from the start! The bed has large turn wheels fitted and it's pretty straightforward to level using a piece of paper for a feeler gauge. Better than my first printer, the Wanhao I3 V2 you can see in the background which had no wheels fitted and where the first item I had to print! Whilst I could add a probe in the future, I only had to level the bed twice on setup after thermally cycling it and haven't had to tweak it so I doubt I would add one. 

I've LOVED the removable print surface on my Prusa, and it's great to see that budget end machines are starting to include this. The print surface on the Ender 2 Pro is very good in terms of print adhesion and release and it works very well. A minor gripe is that it's incredibly flexible and the magnetic bed grabs it a little well making it hard to line up before the bed grabs it, but really that's a tiny tiny concern. 


The LCD display clips on and is easy to read with a familiar Marlin firmware. Whilst again after using a prusa mini + with it's snazzy 32bit controller and hi res display this feels a little low tech it's absolutely fit for purpose, responsive and easy to read. 


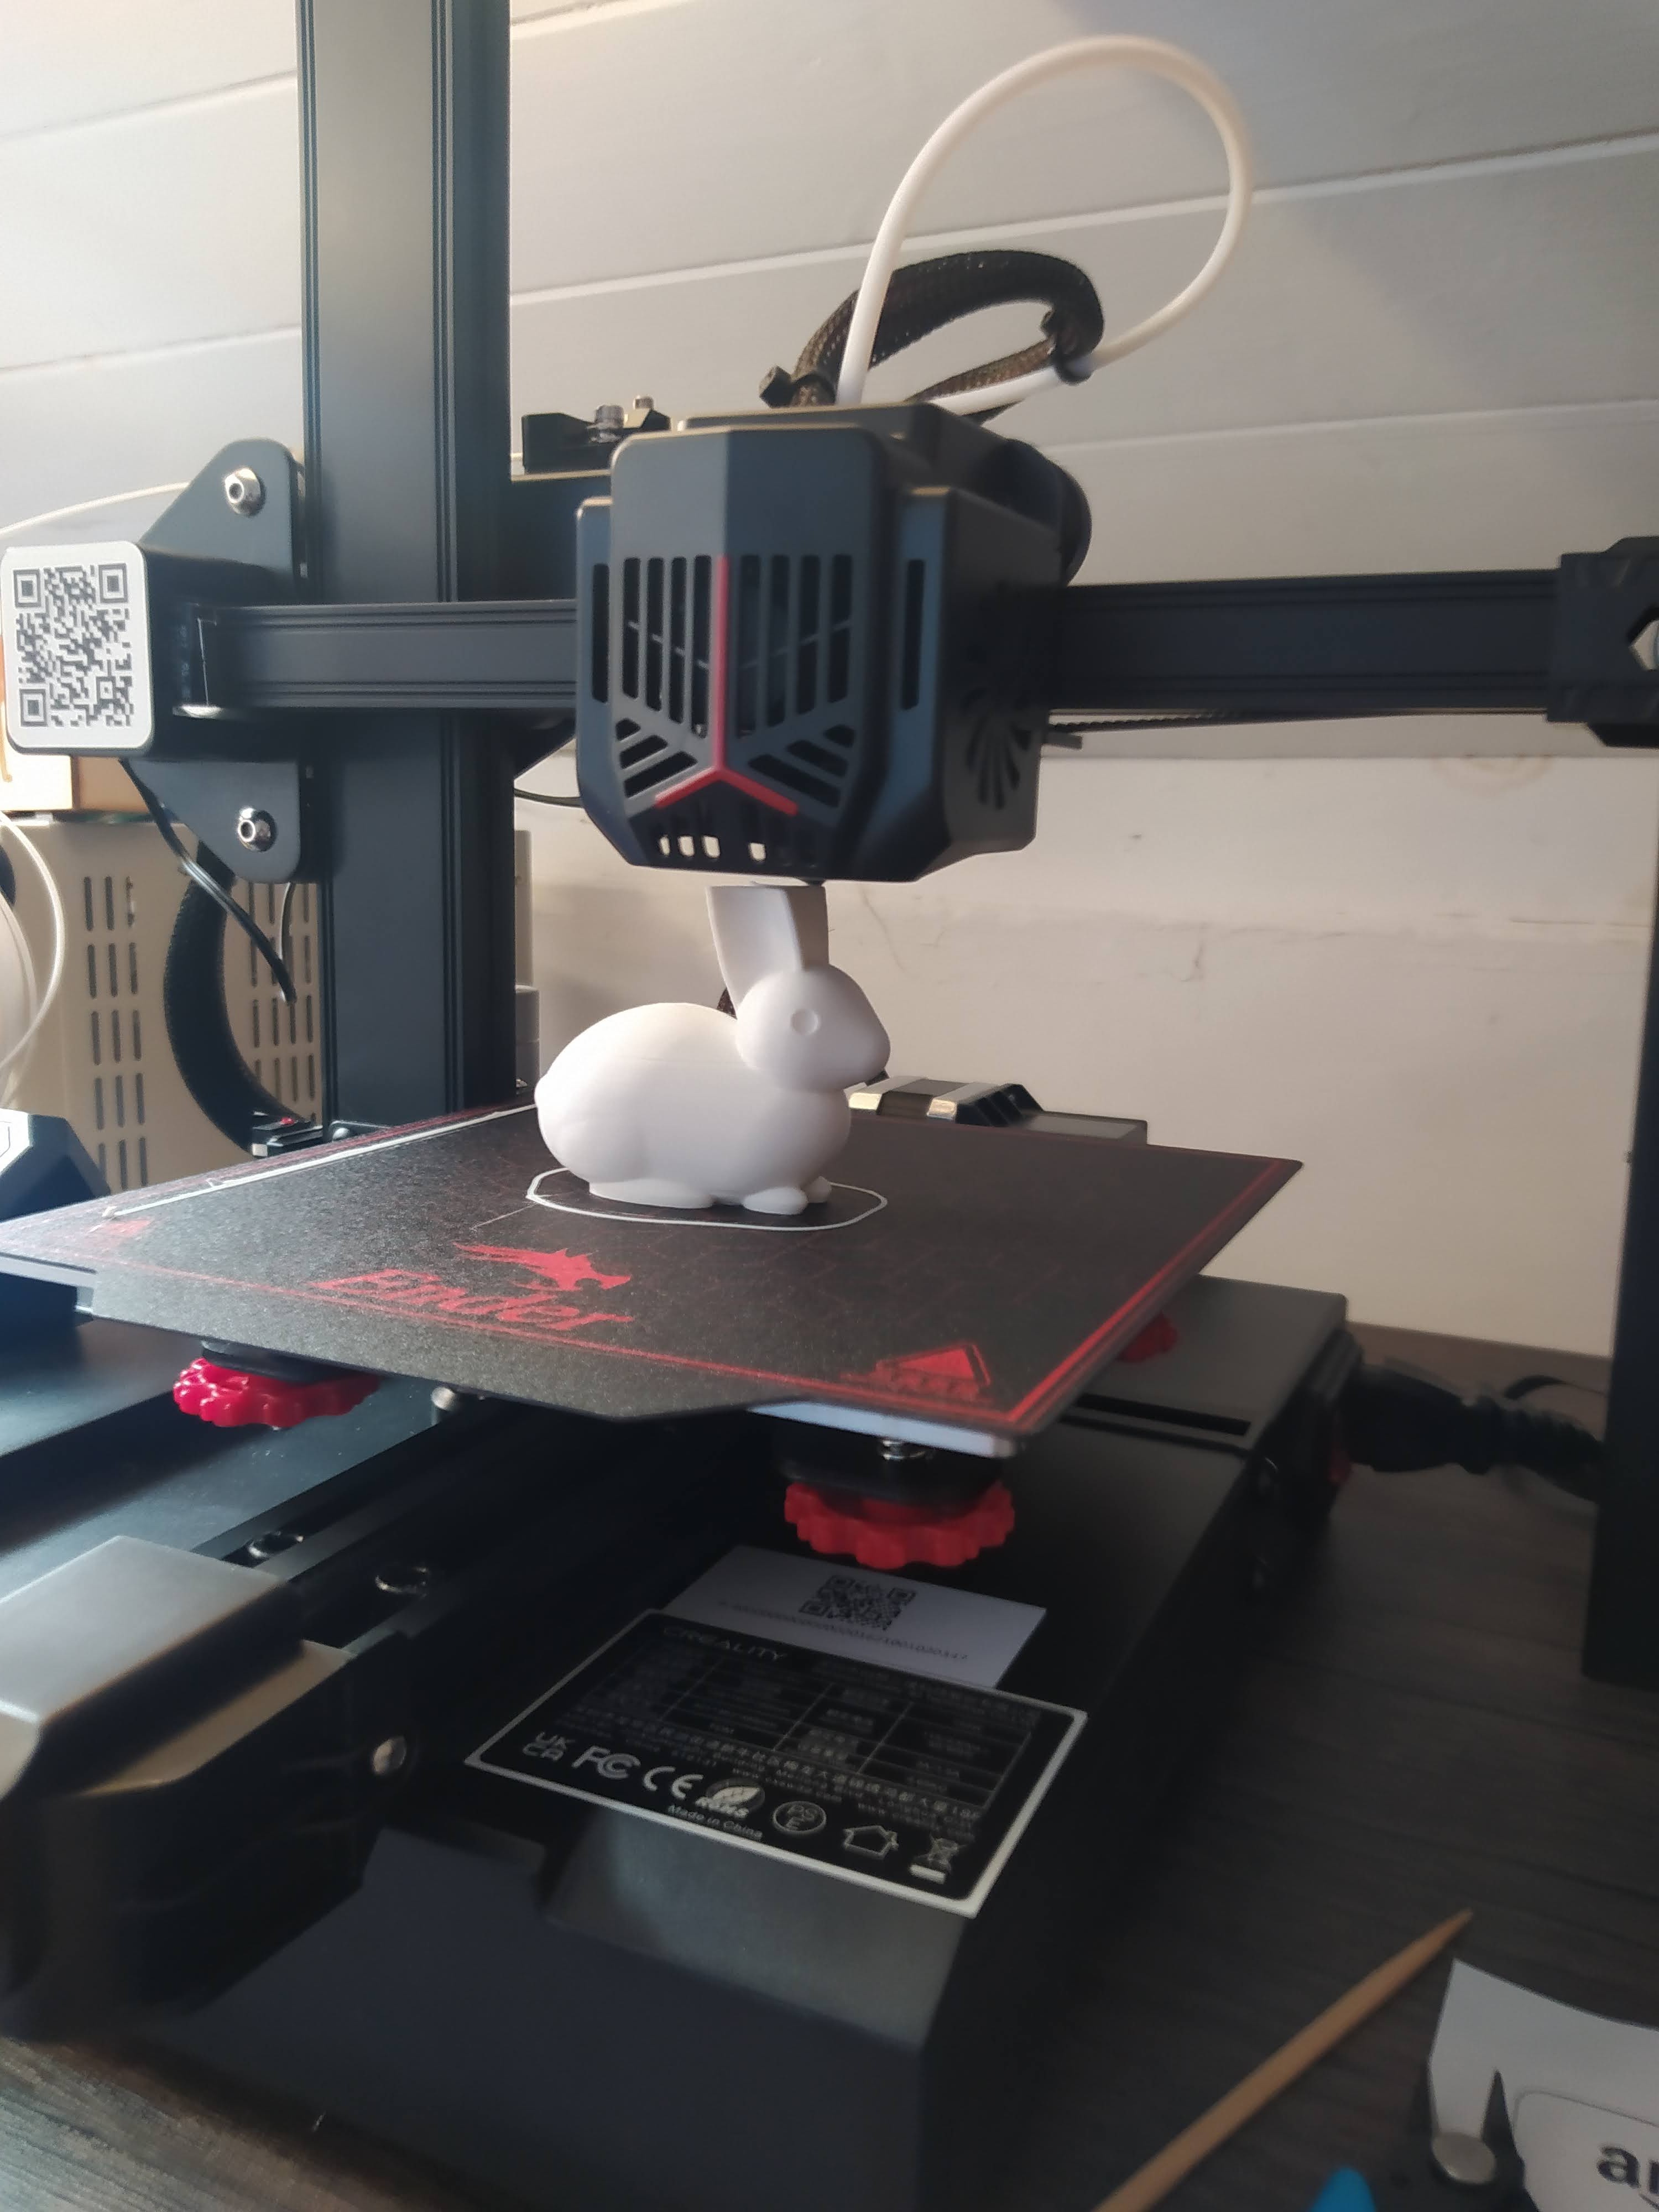
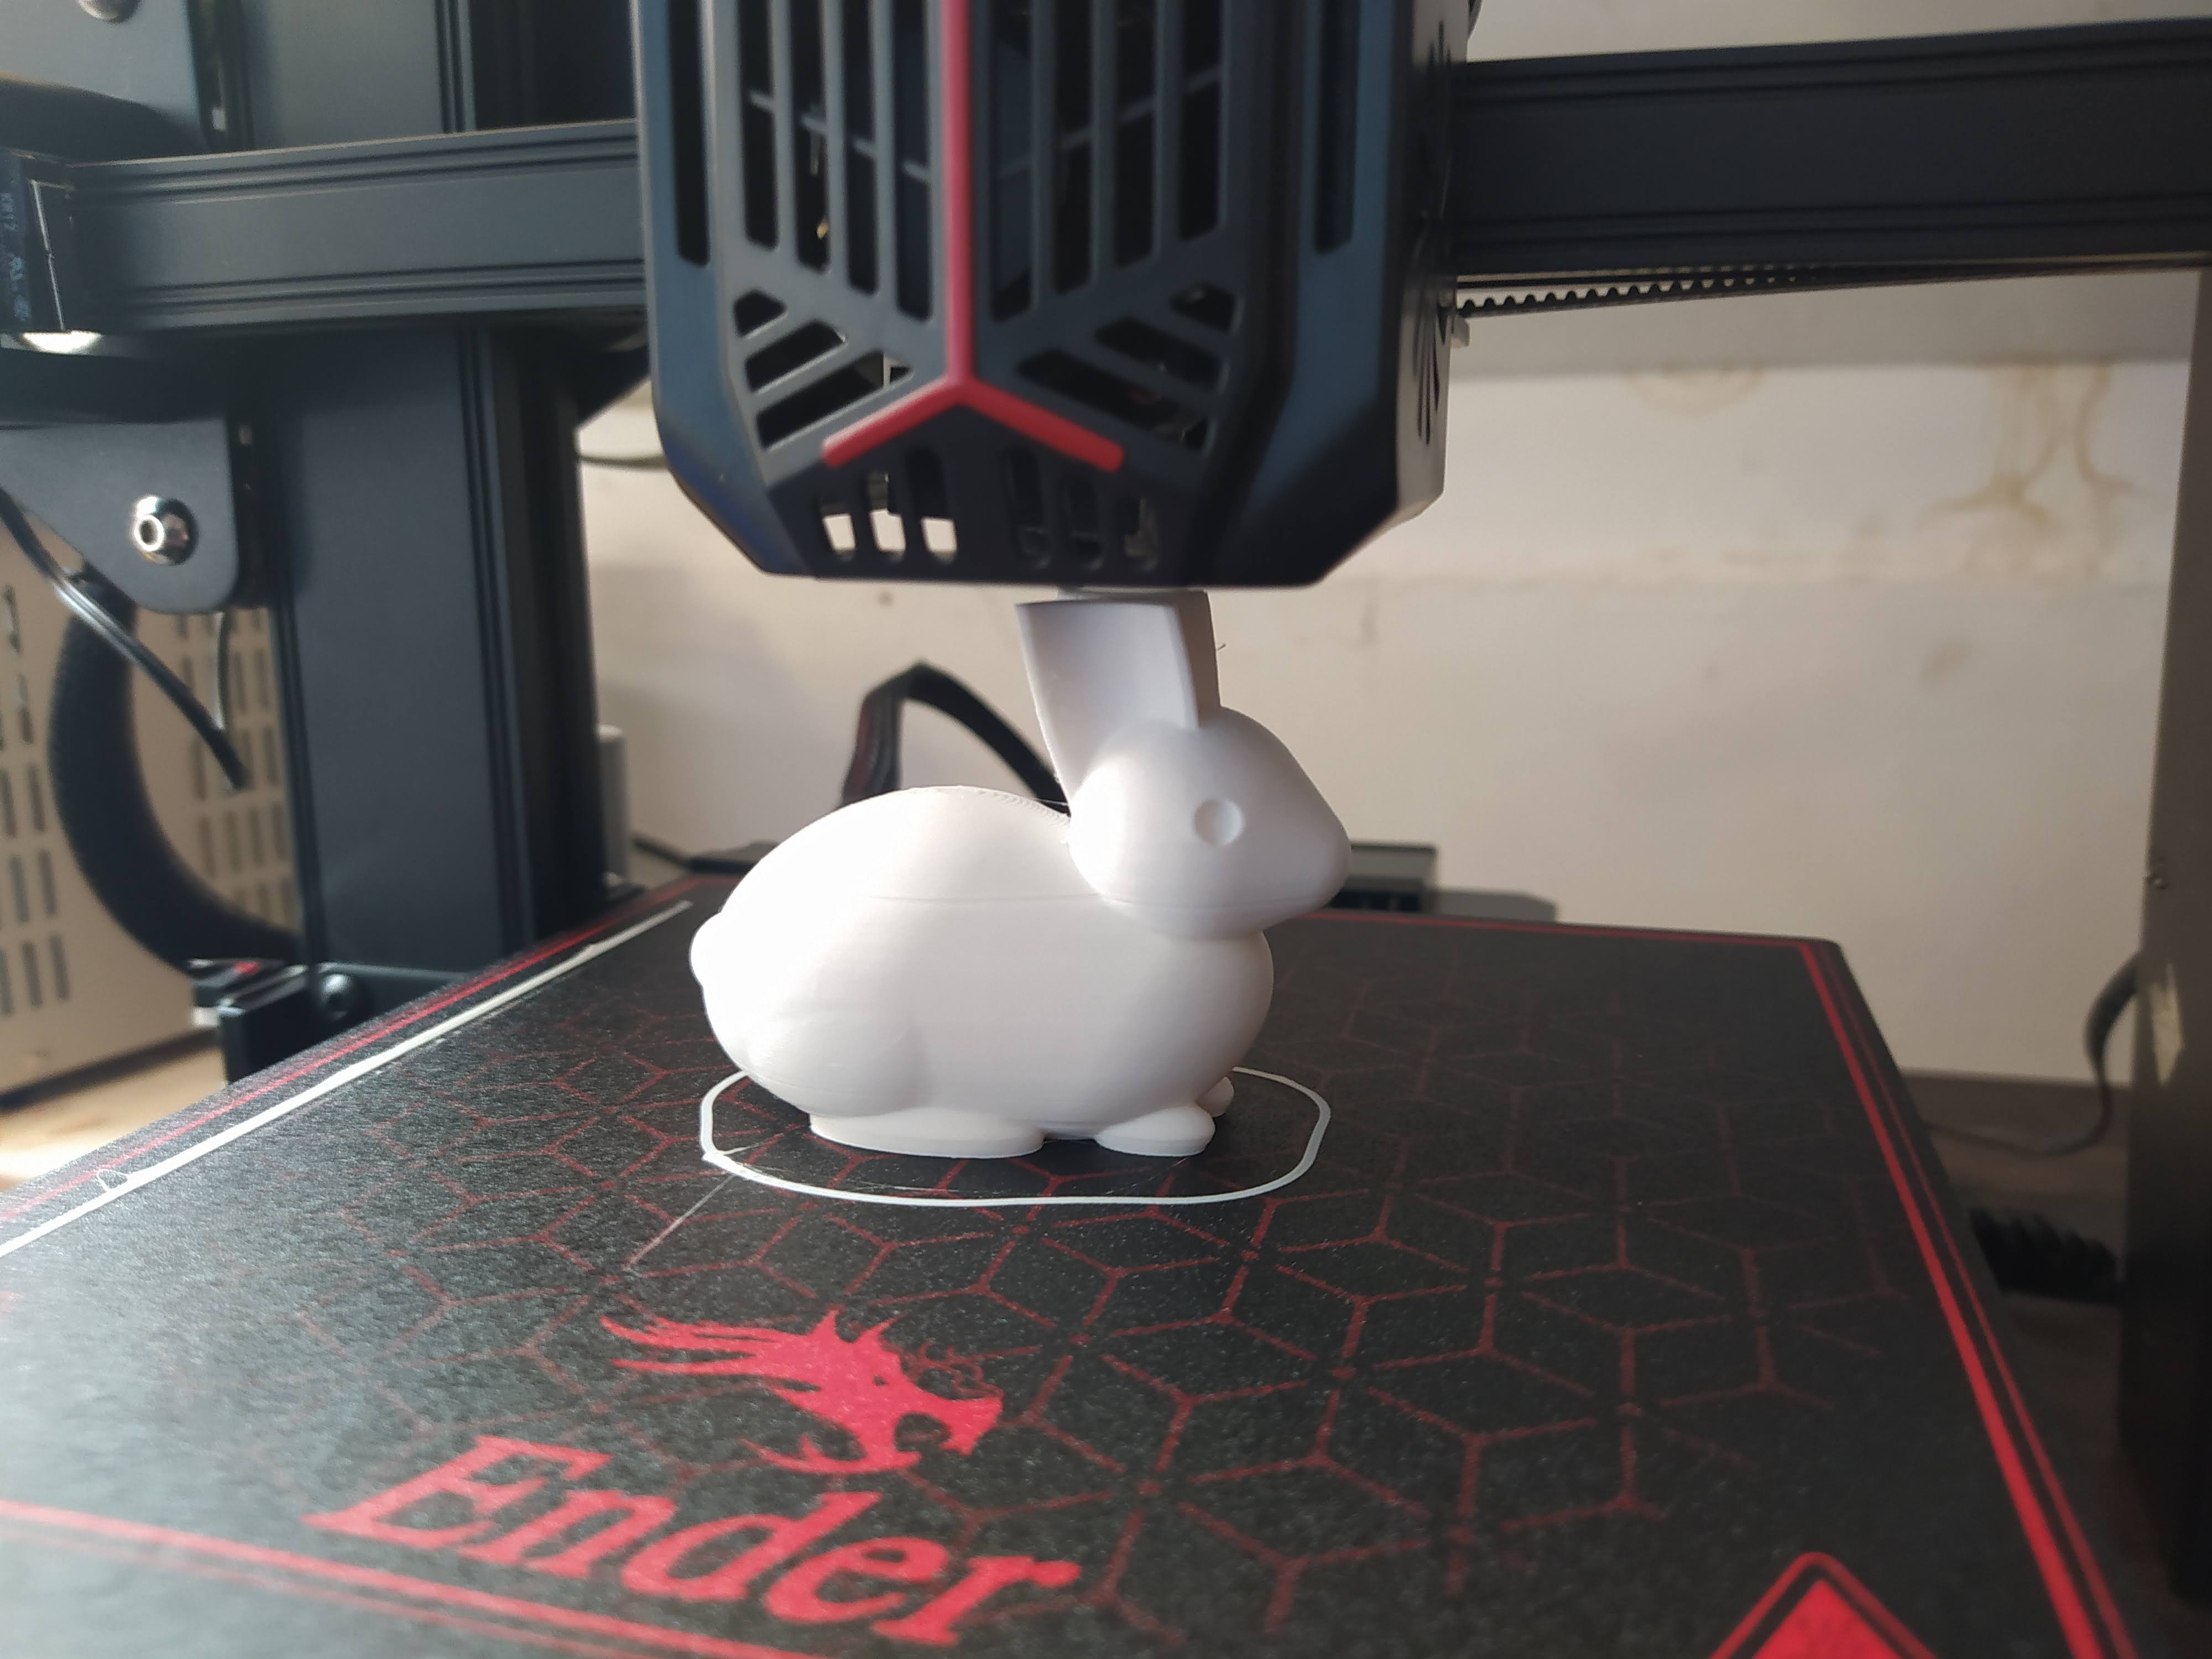
The included micro SD card has some documentation, some windows software and the obligatory example file gcode for printing. Loading up the sample creality PLA and setting it off it produced a very nice bunny model albeit with a noticable Z seam on the reverse side. Print quality was amazing though apart from that and it felt like a very good start. 

I haven't used the Cura profile provided for slicing as I am a fan of PrusaSlicer now and I was pleased to see that there is a beta configuration for the Ender 2 Pro included in the latest version. I tinkered with a few prints using the default settings of the PrusaSlicer ender 2 pro profile and initially had reasonable result but with constant blobbing/zits at new layer start points. The ender 2 pro is a bowden set up and it's quite a short bowden tube which means that there is quite a lot of pressure in the hot end. I knew I needed to up the retraction amount and speed but initially this seemed to make little difference. I was puzzled but began to suspect that the included SD card wasn't particularly quick and that the machine seemed to be making some longer pauses at layer change than I expected. I grabbed a better brand micro SD and tried again, this, combined with what seem astronomically high retraction distances (6-8mm) and near light speed retraction rates.. (200mm/s plus!) the blobbing and oozing was cured. So far it's had trials with a variety of PLA and some nice Prusament PETG as well as some cheap generic PETG. It's handled it all very well. 


In conclusion I'd say this is a great printer for the price, although there are a lot of great printers around the £140 to £200 mark these days. It is certainly capable of producing good prints straight out of the box and it has some nice support and user communities building around it already. I can only imagine making 2 changes to this machine. The first is, this is an incredibly quiet printer.. ruined by one fan in the power supply... honestly this is such a shame as the fans on the hotend and the steppers are incredibly quiet for a budget printer but the cheap fan in the integrated power supply is really loud, Creality really missed a trick there as an extra dollar or two on that fan component and people would be amazed how quiet this thing can print. Secondly, I don't like the fact that the top of the Z axis lead screw is floating... it seems like with all the handle assembly up there they could have popped a bearing in that could support the end of the screw. I can't say I've had any problems though with taller prints so it's only really an issue in my own mind! 

So there we go. It's an excellent printer. It's definitely going to get used and it's probably going to get abused with weird filaments and experiments as, at the price point, it's a great printer to not be too precious about. 


Monday, 16 May 2022

Things You Never Thought You'd Make - Flags!


I'm really lucky these days that I get to make lots of projects and even luckier that I've hustled and grafted to get myself in a position where I often get paid to do so. Occasionally I catch myself pondering and giggling about something I could never have imagined I'd end up making. Often these are small side projects that somehow relate or help another project along the way.  

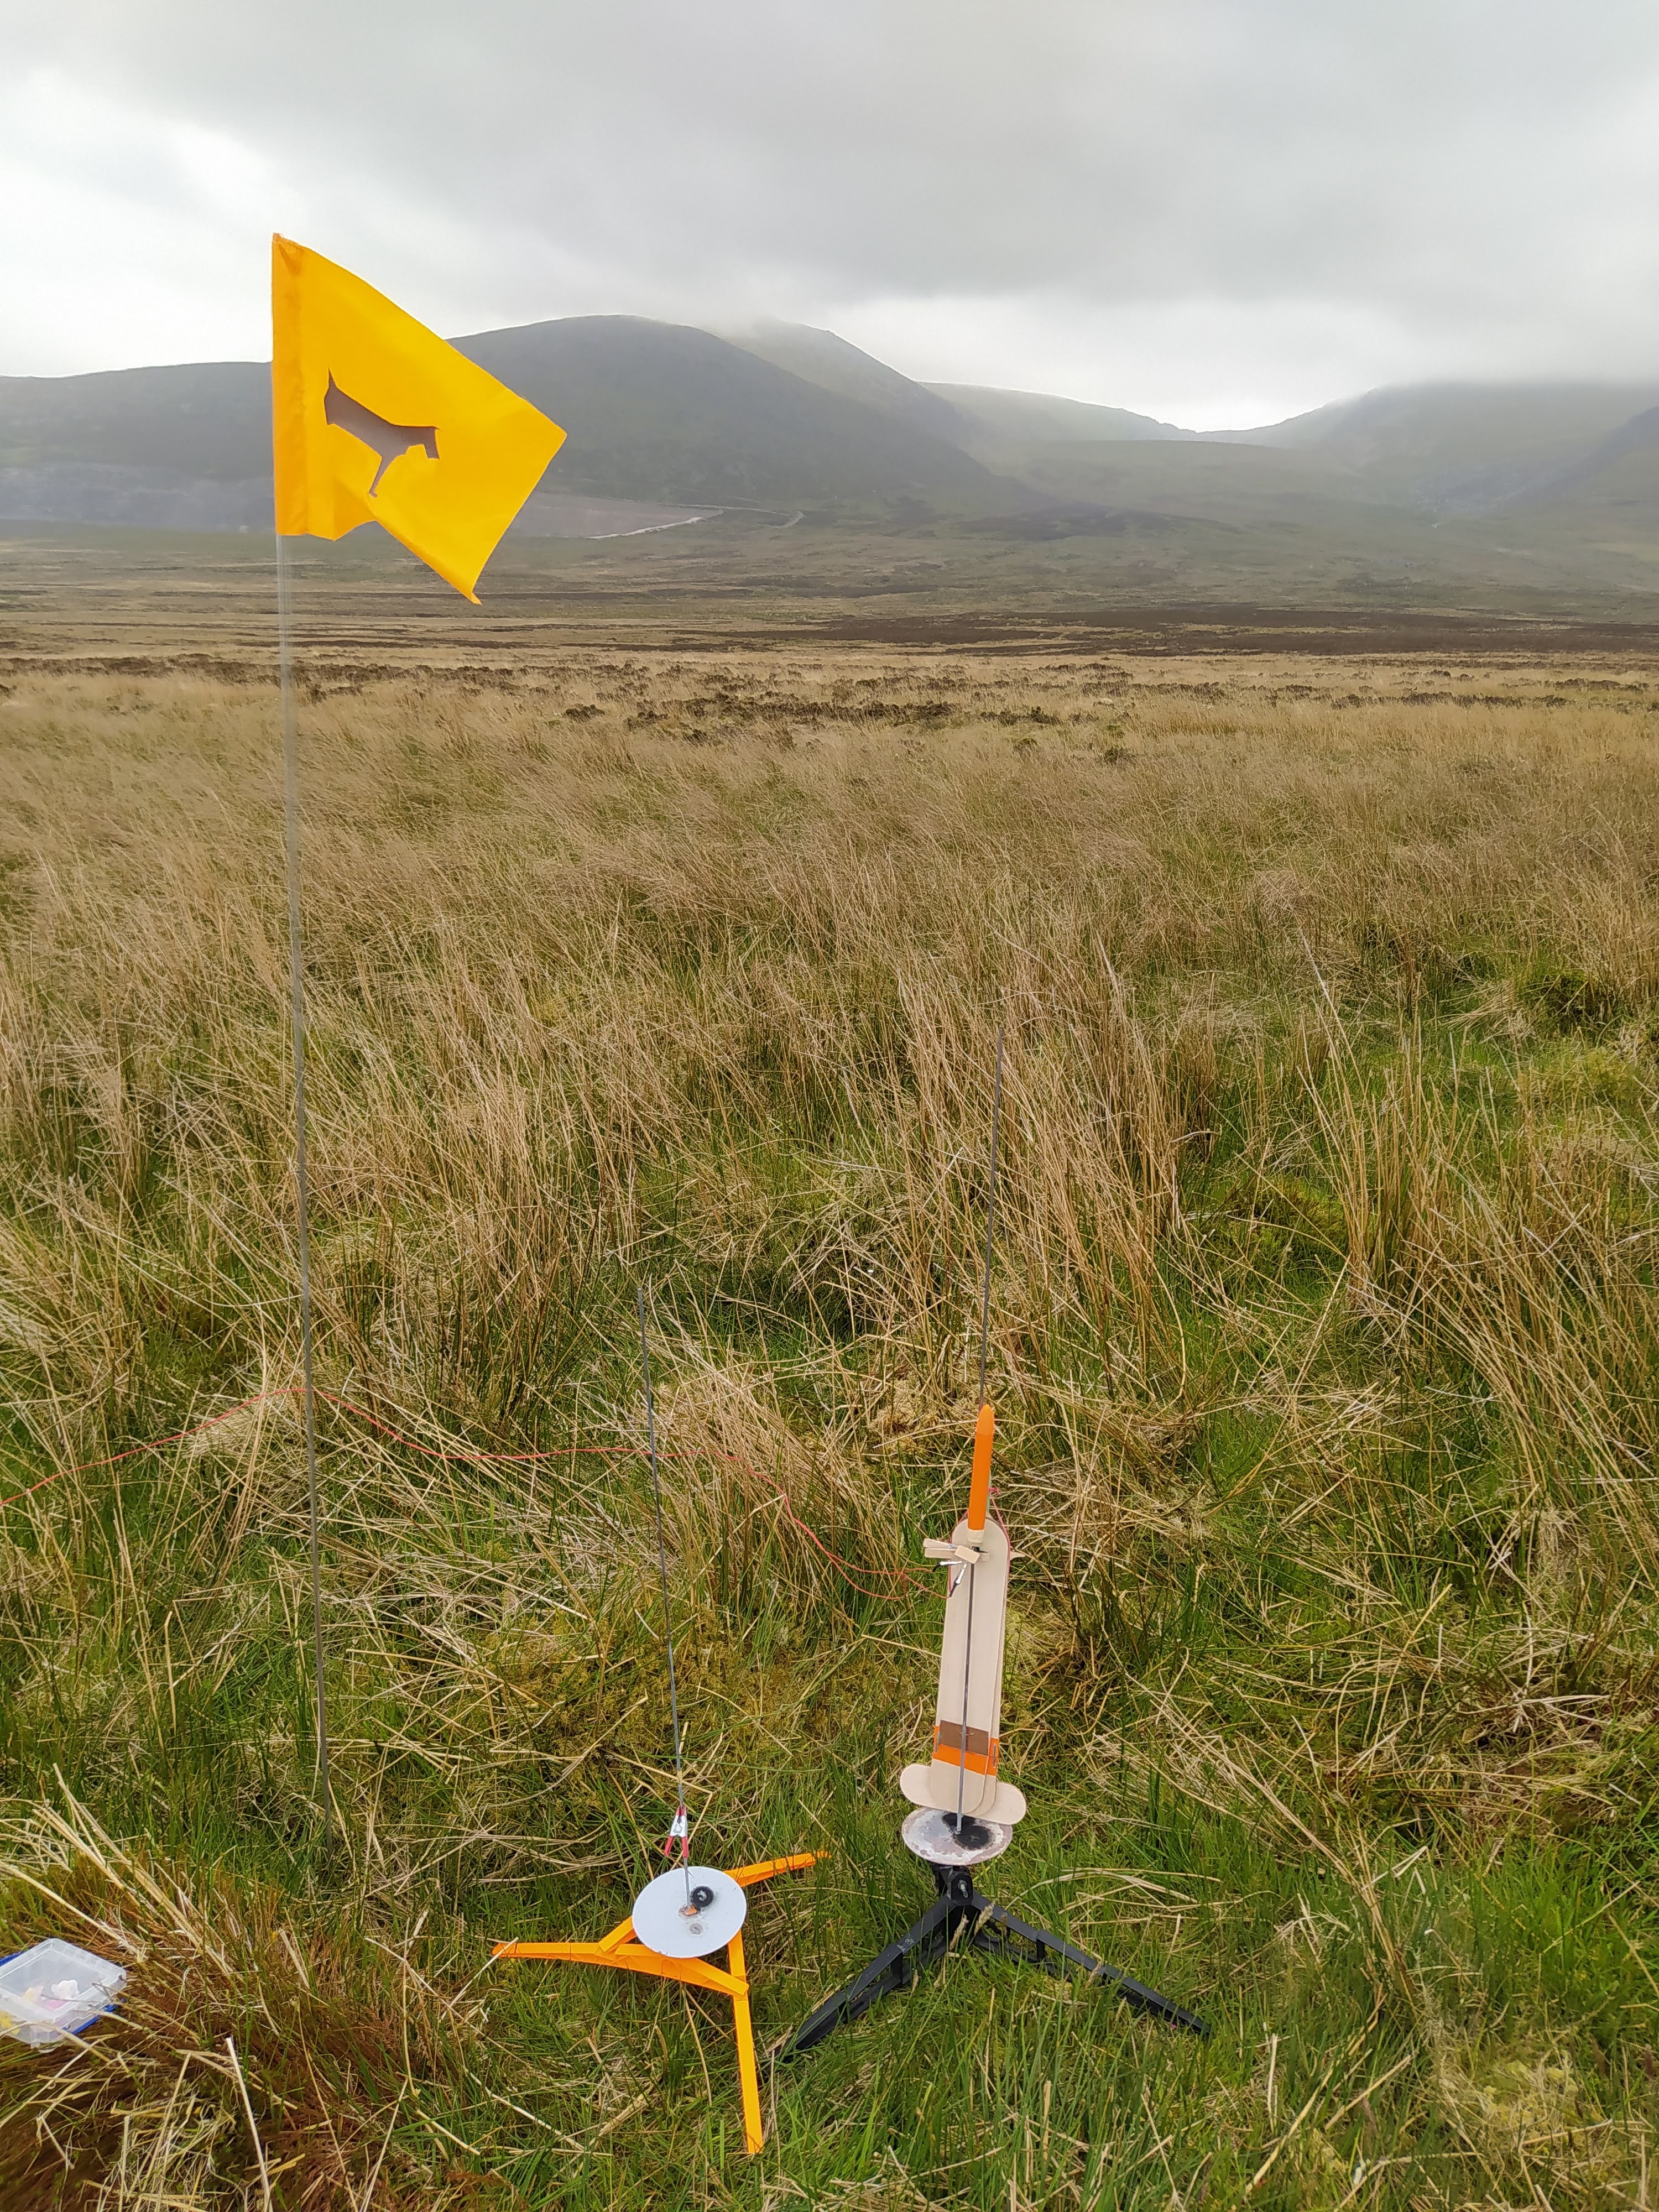
A recent example is I've ended up making a flag and a slot together flagpole! "Why" I hear you cry. Well, I've been continuing to develop and test fly the EXOS swing wing rocket glider and I've been using a local site as a launch area. It's a swampy moorland known locally to our ragtag bunch of RC/Freeflight plane and rocket group as "The Swamp" and it's perfect, but quite featureless. I discovered the first time I set up a rocket launch rail there that as soon as you walk more than 10 meters from your launch spot, well, it disappears! A flag was needed, so I created a pole using 2 x 1m lengths of aluminium tubing and glued a 4mm brass tube into one end which means they can then slip into each other. The flag is simply a bit of rip stop nylon left over from a parachute project which I've sewn a small sleeve into which slides over the flagpole. Finished off with a heat transfer vinyl concretedog logo it's working well to get me back to my launch equipment after a long walk to recover a rocket!