
Monday, 27 April 2020
A live stream on Open Research Rocketry and Opensource!
I was really pleased last week to be invited to do a live stream talk facilitated by the amazing A Industriosa makerspace and lab in Vigo Spain. Above is the 1.5hr talk which featured lots of me waffling, a few minutes at the beginning with a few technical issues and a heap of great questions from the viewers of the live stream. Hopefully we have made some new friends who will get involved in emergent Open Research Rocketry opensource projects and perhaps inspired a few people to get involved in rocketry once Covid lockdowns eventually start to be relaxed.
Tuesday, 21 April 2020
Open Research Rocketry, First Opensource project released!

I've been developing Open Research Rocketry for a while and it has many lofty aims for rocketry in the UK. From non profit flights for people to fly small payloads on high power rockets, developing more launch sites and rocketry activity, policy research and, of course, developing rocketry themed technology. All, of course, opensource. The plan was (and still is) to wrap this up in a not for profit company which has some commercial activities, but all surplus is used to offset and reduce STEM/STEAM activity around rocketry. Hopefully helping develop new rocketry communities, industry and inspiring people into involvement. Many aspect of this road map are currently on hold, including the company set up, until it becomes clearer when activity can resume on rocketry ranges and in education and other sites when counter Covid measures are responsibly eased.
However, some progress continues, I'm really pleased this week that we have released our first opensource hardware project which is a simple small PCB for igniting e-matches that are used in deployment systems in high power and research rocketry. It's a useful little module that may form part of people test set ups or indeed part of a modular flight computer system. It's brilliant that we have begun to have community contributions and merge requests also. Do check out the project here.
And check out the main Open Research Rocketry page and if you have any suggestions for opensource resources relating to rocketry do send them over for our resources page.
Wednesday, 15 April 2020
Fibreglass Rocket Nosecones using 3d printed molds


So the last week or so I have been experimenting with designing and printing small PLA molds into which I can lay up fibreglass to create nosecones for rockets. In this post I plan to share the progress so far. Before we star though I wanted to explain a bit about why I want to create fibreglass nosecones. I have very successfully used 3d printed nosecones in all scales from the tiny ultra lightweight single wall nosecone I printed for my A impulse UK altitude holding record "Imp" rocket, through to larger nosecone for high power rocketry. Fibreglass/composite however is attractive as it is lightweight but also strong, and also only requires a thin shell whereas many 3d printed designs need thicker walls or indeed to be a solid infilled part. I'm also interested in building a minimum diameter 29mm rocket airframe to try and break Mach 1 and so I need a nosecone that maximises strength whilst remaining as hollow as possible to hold avionics inside when space in the airframe is so tight.
I printed a pair of mold halves using 0.2mm layer height and was reasonably pleased with the quality and surface finish of them. For the first and second attempt I did nothing to the 3d printed mold halves and left them in exactly the finish that they came off the printer. Although epoxy doesn't adhere *that* well to PLA I still wanted to use a release agent, but due to current lockdown, I had to try and use items I already had. I'd read online about someone using Glycerin as a release agent. The first attempt therefore I painted a thin coat of Glycerin onto the mold halfs before wetting them with laminating epoxy and adding some very very thin fibreglass cloth I have that is 40g/m weight. Its super thin and as such the next morning the mold halves had cured but the material was to fragile to pull from the mold without breaking it. Also I feel that the glycerin had failed as a releasing agent. I reprinted the mold halves again for a second attempt again with no post production/finishing and the same layer height.
This time I used some neutral shoe polish as a release agent applied by a finger very thinly. I was careful not to allow it to fill the corners where the nosecone shoulder sat and managed to get a neat uniform layer over it all. This time I went with some 110g/m cloth and laid up the mold halves seperately. Working at this small scale I had decided to try and make a single layer in both halves seperately with a margin of unglassed cloth left over and then I would do a second process to stick the two halves together with more epoxy and tape after trimming (hopefully) the first skin after it had cured.
Success, the next day the second attempt halves demolded pretty cleanly and although still flimsy showed that this could work (see top picture).

I trimmed the mold halves down as accurately as possible and then replaced them in the mold. I added a tiny smear of shoe polish to the mold half faces and then stuck the halves together with tape. At this scale it is pretty easy to get the mold halves to align, if I was working at a larger scale I would probably create keyed mold halves that interlock.
Having clamped the halves I then mixed another tiny amount of epoxy and added a strip of fibreglass cloth around the joint to stick the two halves together. It's difficult to work with such small amounts of such lightweight cloth through such a small aperture, but you don't have to be too precious as this will be on the inside of the nosecone so doesn't matter to much about the finish.
After this cured we could remove the nosecone and check it's fit in a piece of 29mm body tube, it fits perfectly! Once the nosecone is joined you can, of course add more layers internally to stiffen it etc. I added an extra layer inside and still this nosecone weighs less than 2.5g.

As a next stage I wanted to create a Von Karman Haack nosecone as that is probably the preferred geometry for my mach busting rocket idea. The original ellipsoid nosecone had picked up the details of the inside of the mold and the 3d printing layers were visible. Whilst I am happy these could be removed/smoothed out with sanding, filling, priming and painting it makes sense to minimise this work. As such I printed the Haack nosecone mold at 0.1mm layer height which increased the resolution of the finish and I spent some time sanding the inside of the mold to further enhance the finish.

I also wanted to comment that the molds are definitely reusable, any errant epoxy that sticks to the PLA can be scraped off whilst maintaining the mold surface, I remade another ellipsoid to the same finish using the same mold.


The Haack nosecone having been remolded has shown that printing at 0.1mm and trying to maximise the quality of finish on the mold is definitely worth doing. Whilst some sanding and smoothing will be needed the surface finish is generally very good on this one.
Finally, once I have a slightly larger collection of molds sorted I will release a repo with them all in over on www.openresearchrocketry.co.uk
Wednesday, 8 April 2020
10 minute make; 'To Do' Peg!

Quick 10 minute make today, made magnet mount laser etched "To Do" peg! Pretty straightforward in that I found a wooden peg , chucked it in the tiny Neje laser etcher and etched it!

Then after etching it, just a blob of superglue and a 3mm neodymium magnet and we are done! I'm considering a whole Kanban washing line system next :)

Sunday, 5 April 2020
Wearable experiments! 3d Printing onto fabric, and conductive thread.


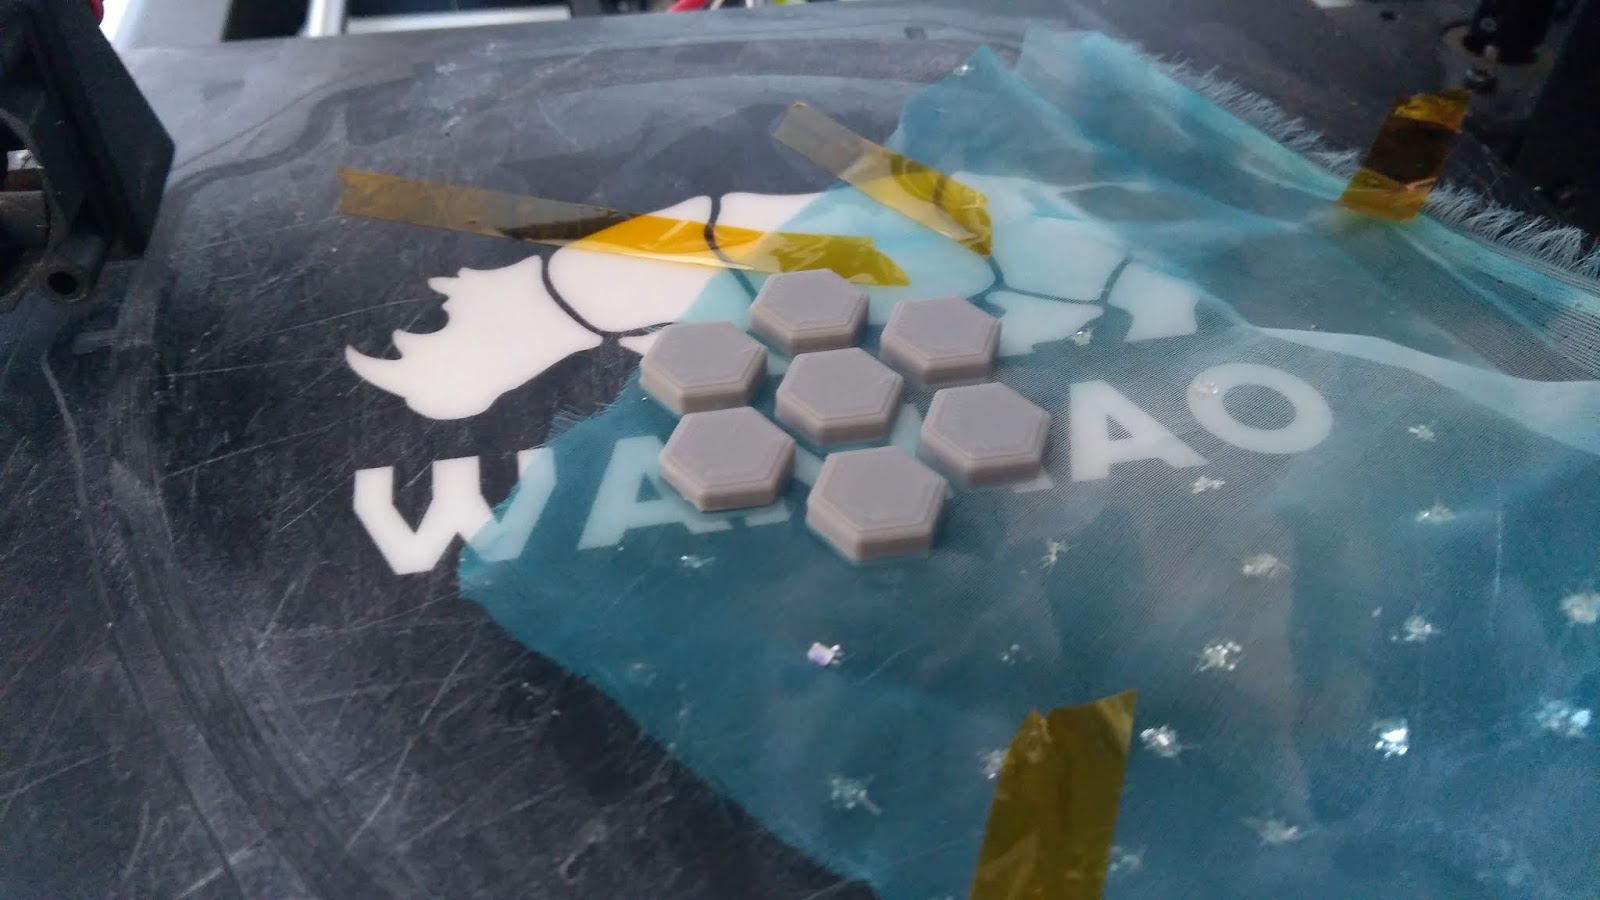


I removed the cloth from inside the holes after printing using a dremel and then tested to see if/how the LED diffused through the print. It's not great tbh as I didn't think about which geometry infill or the I thermal design of the hexagons so I could certainly make this work better. I did however want to have a go at fitting at least one using some conductive thread I bought an age ago.


Subscribe to:
Posts (Atom)