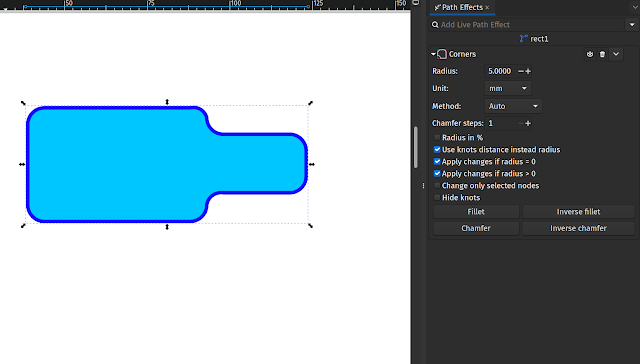
The Corner path effect can be added to reasonably complex paths to create radius corners. It’s a relatively straightforward path effect to use. As an example lets create a shape with a pair of rectangles and then apply the Corner path effect.
To begin click the Rectangle Tool icon and then left click and hold on the canvas to start drawing a rectangle, drag the tool across the canvas to create a rectangle. Create a second rectangle and roughly arrange them as seen in the image.
Quicktip: If we just want to add rounded corners to a single rectangle or square we can select the item with the Node Tool and then either drag a circular node or type a radius into the Rx or Ry dialogue boxes.
Next press “Control A” to select both rectangles and then Path – Union to make a single object from the two rectangles as shown in the image.
To add the Corner path effect first select the union shape we just created and then click Path – Path Effects to open the Path Effects tab on the right hand side of the screen. You should see in the tab that the object, named “rect1” is listed below a search input box which has a dropdown menu. Left click on the arrow at the right side of the input box and you should see the available path effects as shown in the image.
Left click to select the Corners path effect and you should see the dialogue with the parameters for the corners path effect in the right hand tab. As a simple example of applying a corner effect let’s set the Units selection to “mm” and then type “5” into the Radius input box.
You should now see that the corner path effect is added to both the internal and external corners of our shape, you can see this in the header image at the top of this post. To remove the corner path effect at any time you can click the dustbin logo in the corners path effects dialogue.


No comments:
Post a Comment